Ever wondered how to create an augmented reality aura? An aura is the medium created by augmented reality platforms, it is a new way for marketers to get their messages across to their target markets. It will bring to life an object, article, image or even a landscape using video, sound or graphics. Advances in mobile communication has brought this technology closer to everyone.
There are a number of packages available on the market: Aurasma is the world’s leading augmented reality platform with over 20,000 partners operating in over 100 countries. This article will demonstrate how you can use their desktop application to create your own Aura.
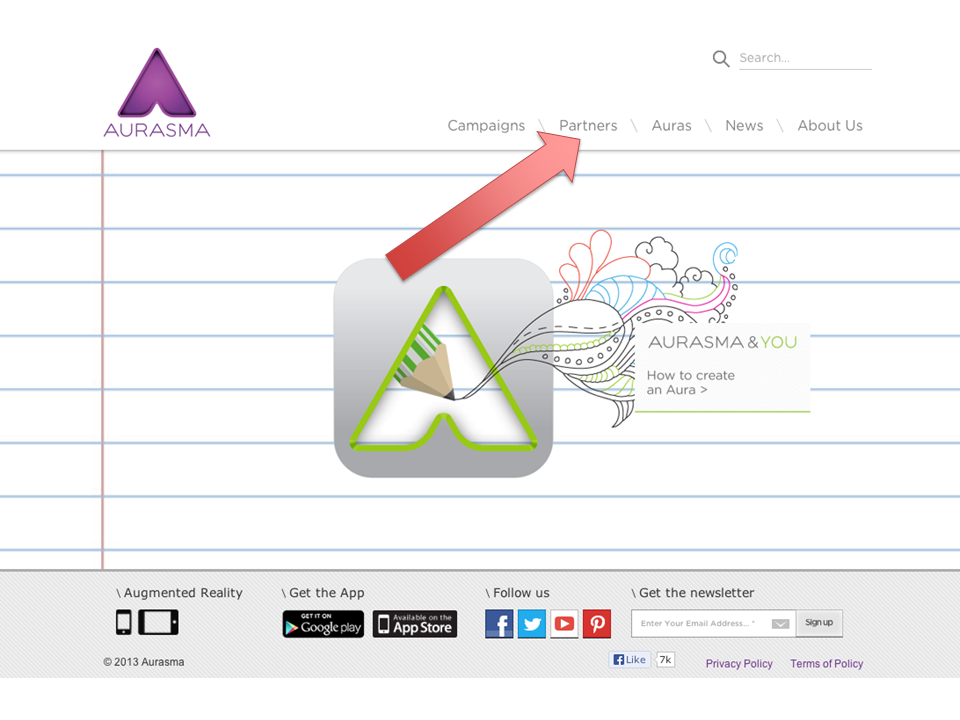
1. Log onto Aurasma.com and click on the Partners tab.

2. Click on the “Log onto the Aurasma studio”.
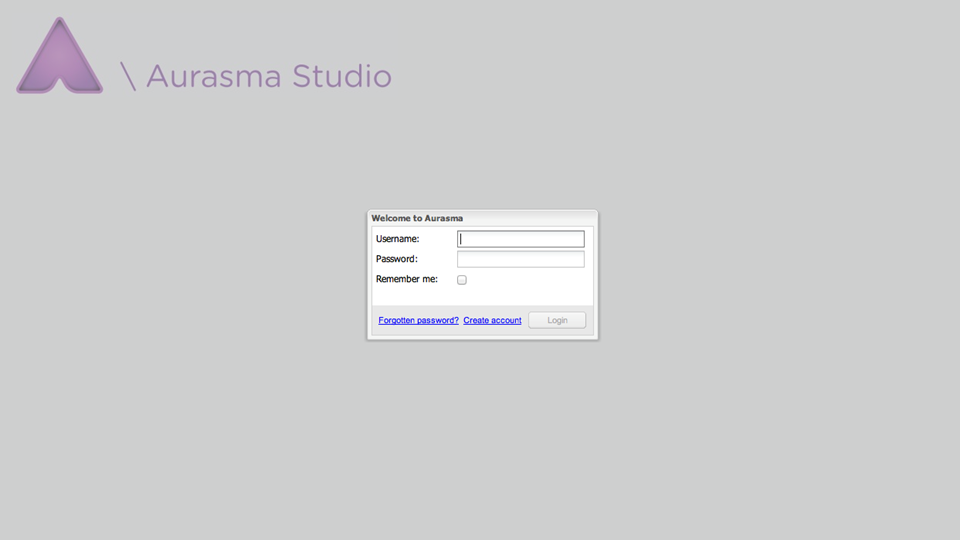
3. If you have not done so, create yourself a new account, otherwise log in.
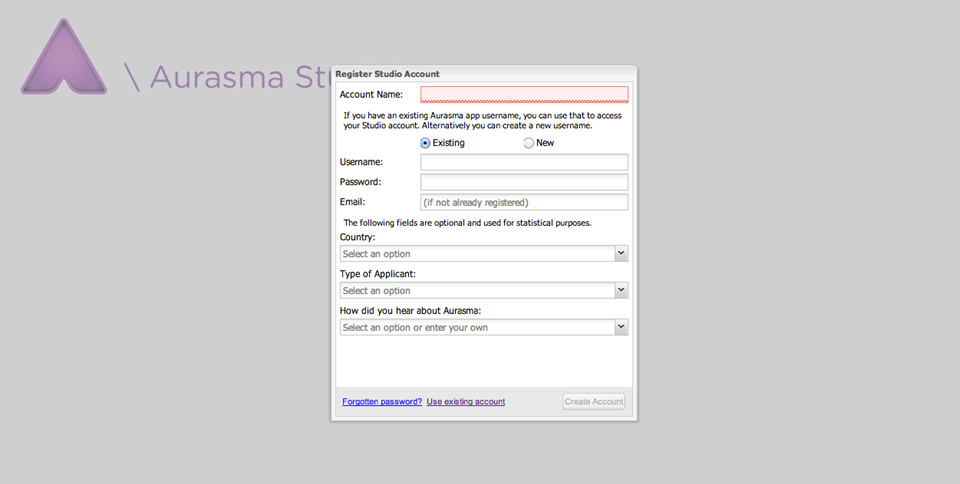
4. This section demonstrates what you will need to do to create a new account.
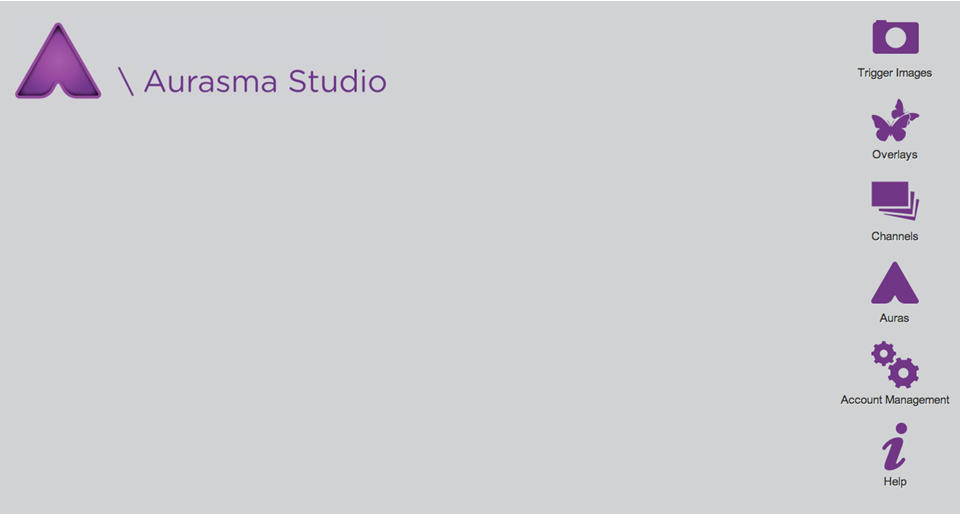
5. You are now in the Aurasma studio. You can click on the appropriate icon on the right to get into the required section.
Click on “Trigger Image”, this is the image or object that you want your target audience to engage with (in terms of creating an Aura).
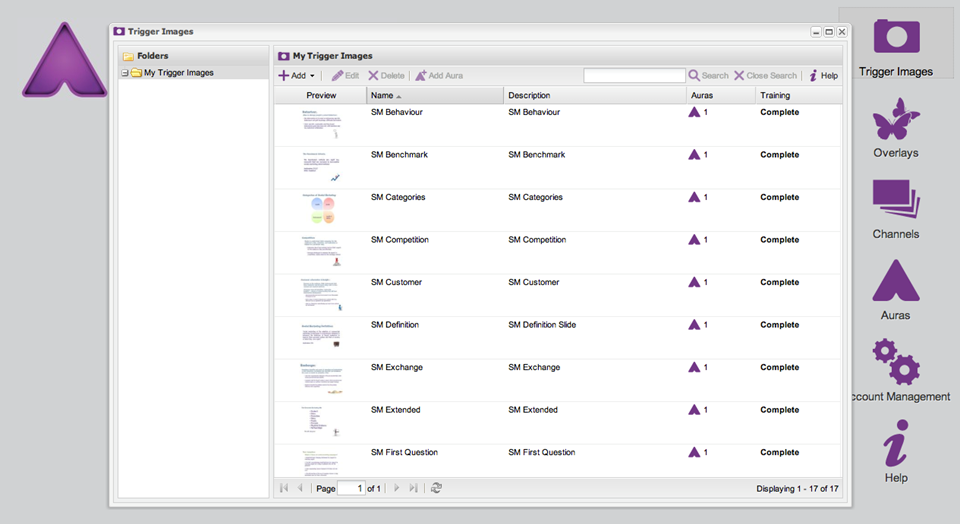
7. What you can now see is a list of Trigger Images that you will have for your account. On the desktop version you will need to have created a picture of the required Trigger Image, this can be as a JPEG or PNG.
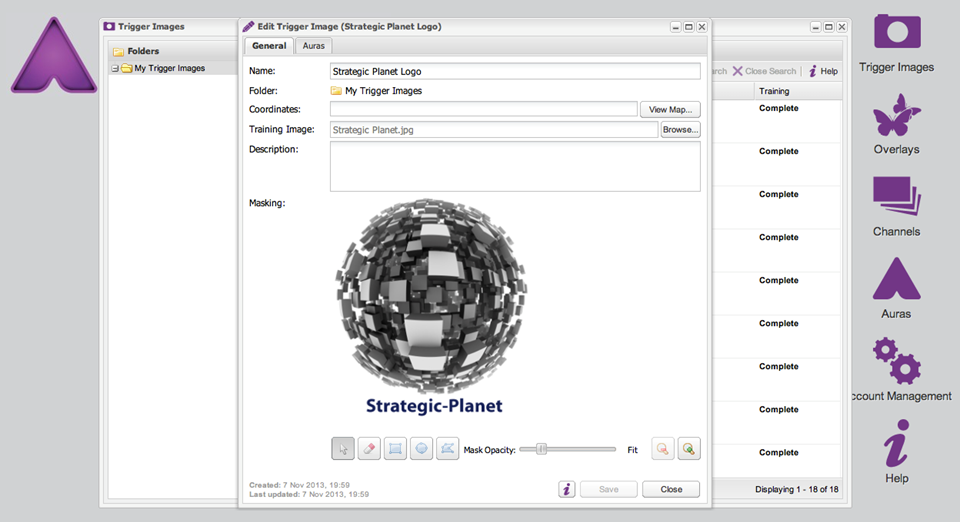
8. Go to the top left hand corner of the Trigger Image window and click on “Add New”. Give the image a name (tip, be explicit and descriptive, when you are building a large portfolio you need to consider how you might need to find it again. Ignore the “Coordinates” element, this is only relevant if you are going to Geo‐Tag it. You can add a description of the image and do some basic editing if required. When you are done, you can save and close the window.
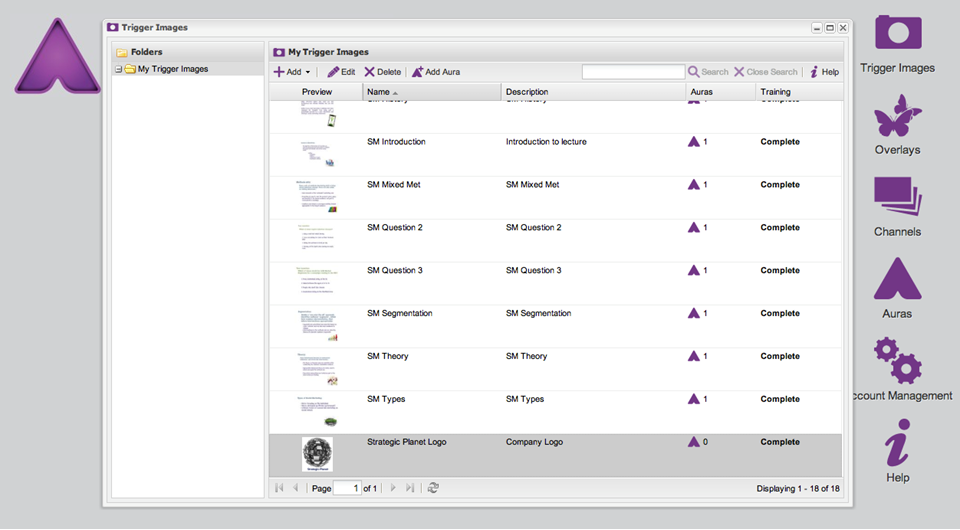
9. You will now see the image added to your list, note at this stage it has no Auras linked to it (see forth column). This helps you to manage your projects.
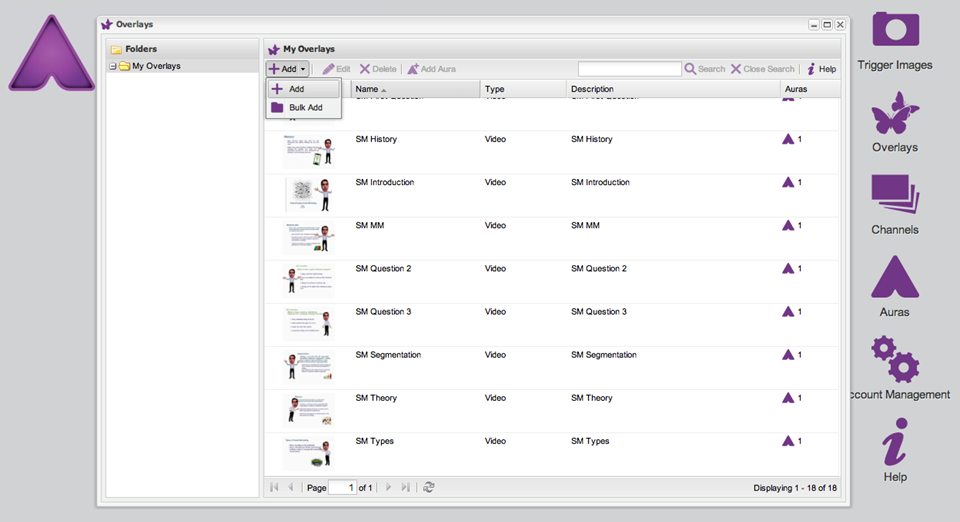
10. If you now click on the “Overlay” icon you will see all the video Auras you have prepare. You can now allocate one to the “Trigger Image” you have just created.
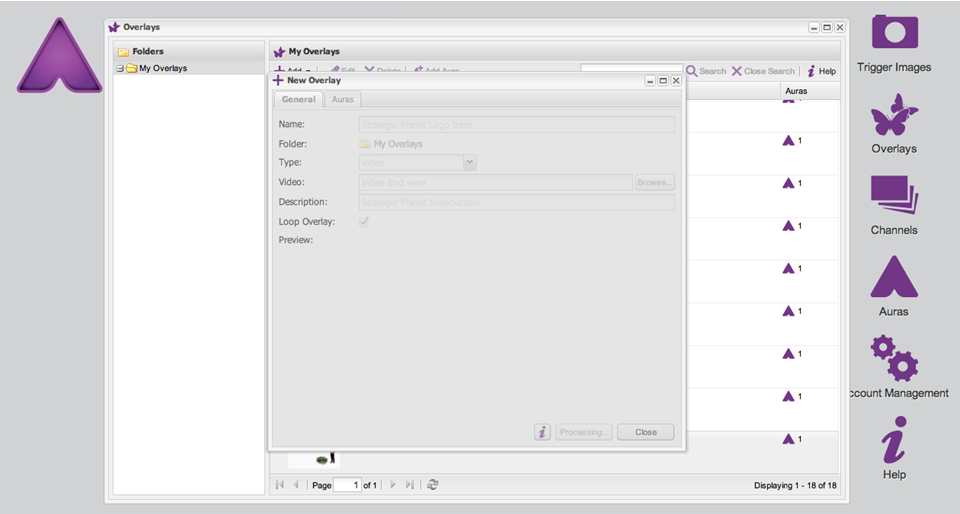
11. You can now find the video you want to use for your Aura. Note, on this platform you can upload a WMV formatted video, you cannot do this on an Ipad.

12. You can now see the list of videos that you have. Note, the fifth column will indicate if the video has been allocated to an Aura.
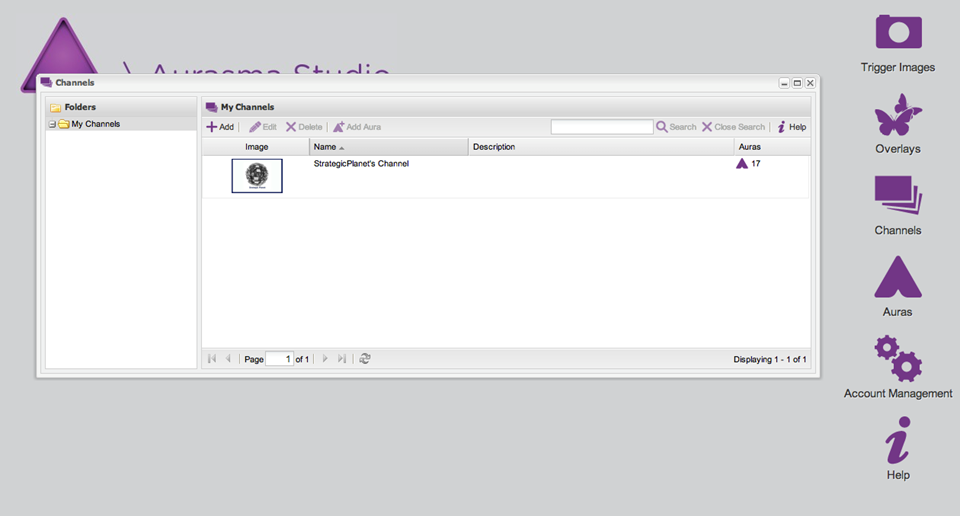
13. The other important element of the Aurasma platform is the Channel Tab: you can create multiple channels that can be used for different groups.
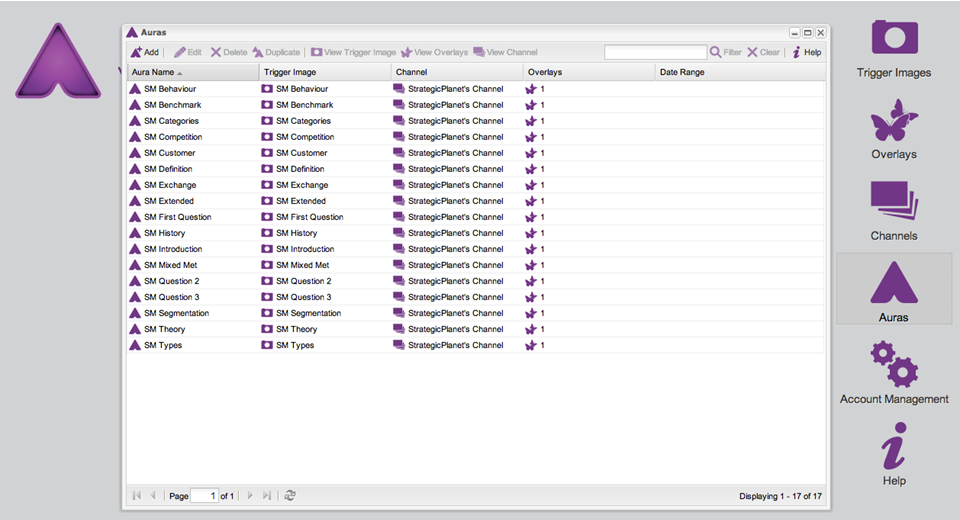
14. The Auras tab lists all the Auras you have. It is here where you can link the “Trigger Images” and “Overlays”.
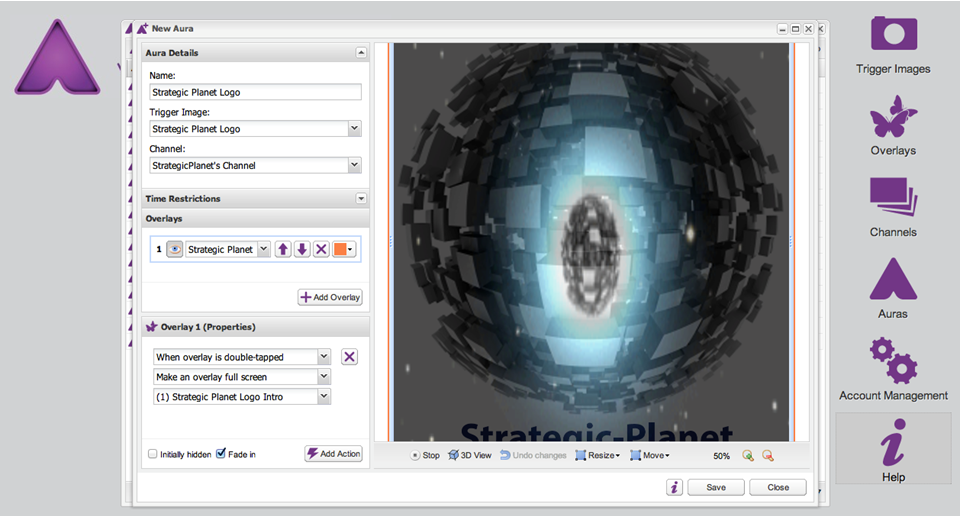
15. Click on Add, then select the “Trigger Image”, “Overlay” and “Channel” that links together. You can adjust the overlay properties from here too.
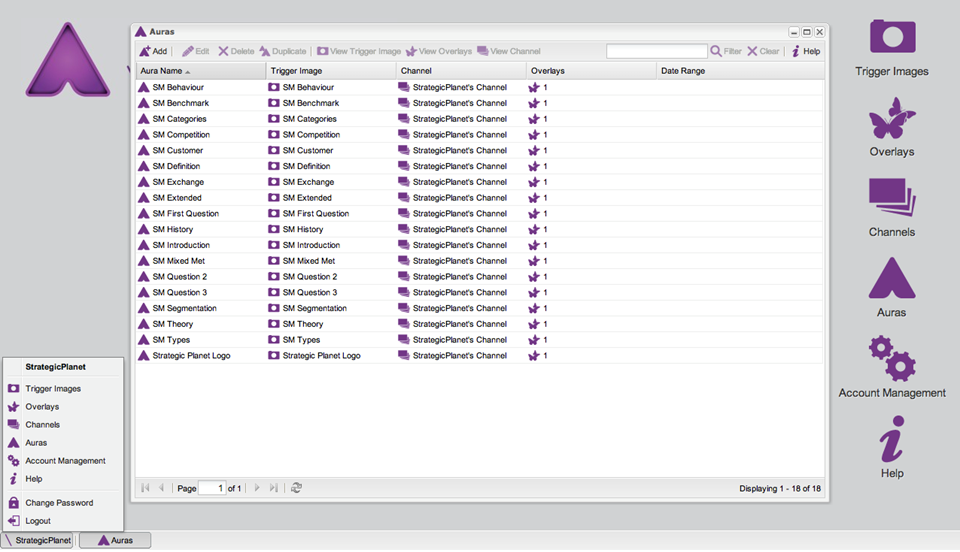
16. Note the tab in the bottom left hand corner is another way to access the various sections of Aurasma.
If you want to see this in action please visit an earlier article I wrote: How to use Aurasma, the Augmented Reality Platform.
Other articles you might find interesting:
- How to use Aurasma, the Augmented Reality Platform.
- Wiggio: A Collaborative Innovation Network.
- Visually Optimise Your Websites and Adverts.
- Editing URL Shorteners.
- Using Twitter at Events.
Alan Shaw
Latest posts by Alan Shaw (see all)
- What is social listening and why it is an important tool for researchers? - July 31, 2021
- COVID-19 and Remote Learning: Experiences of parents supporting children with SEND during the pandemic. - June 30, 2021
- Using Netnography To Evaluate The Launch And Collapse Of The European Super League - April 21, 2021
- Developing Semi-Structured Interview Questions: An Inductive Approach. - April 9, 2020
- Developing Semi-Structured Interview Questions: A Deductive Approach - April 9, 2020